Decorative Sugar artwork
When
syrups are boiled until nearly all the water is evaporated, the sugar becomes
solid when cools. This process enables us to make decorative pieces out of
sugar that is boiled to 149˚c or more and
shaped while still hot.
Sugar that is
boiled in a syrup undergoes a chemical change called inversion; which a
molecule of double sugar combines with molecules off water and changes into two
molecules of simple sugar (dextrose and levulose). Invert sugar resist
recrystallization, and plain sucrose, (granulated sugar) crystallize easily.
The temperature to
which syrup is boiled is also important. The higher the temperature, the harder
the sugar will be. The temperature ranges recommended is 155˚-160˚c,
and the actual temperatures used for the pulled and blown sugar was 160˚c.
Cooking the sugar
to a higher temperature makes it harder and more brittle and thus more
difficult to work. Cooking to a lower
temperature makes softer sugar that is easier to work, but the pieces may not
hold up as well, especially in humid climate.
Guidelines:
- Use pure white granulated cane sugar.
- Place the sugar and water in a clean, heavy pan. Place the mixture over low heat and stir gently until the sugar is dissolved.
- When the sugar is dissolved, raise the heat to moderately high and do not stir anymore. To prevent crystallization, use a clean pastry brushed dipped in hot water to wash any sugar crystals down the side of the pan. Do not let the brush touch the syrup.
- Always use a sugar thermometer.
- Add coloring and tartaric acid solution at the temperatures specified in the recipes.
- Liquid colors in an acid solution should no be used. For the best results, use powdered colors and dissolve them in a little water or alcohol. Good quality paste colors can also be used.
TOOLS FOR SUGAR
WORK:
Sugar lamp, sugar
thermometer, rubber gloves, blowpipe, cut off wire whip, blow torch.
1.
Spun Sugar
Spun sugar is a
mass of threadlike or hair like strands of sugar used to decorate cakes and
showpieces. Spun sugar should be made just before it is needed because it does
not keep well. It gradually absorbs moisture from the atmosphere and becomes
sticky.
Procedure:
a. Prepare
the syrup. When the correct temperature is reached, remove the pan from the
heat and allow the syrup to stand for a few minutes until it is slightly cooled
and thickened.
b. Dip
the cut off wire whip in the syrup and tap lightly to remove excess. Wave or
flick the whip vigorously over the wooden rod so that the sugar is thrown off
in fine, long threads.
c. Repeat
until the desired amount of spun sugar is hanging from the rod. Carefully lift
the mass from the rod.
d. Coil
the sugar, or shape as desired for decoration.
e. If
the syrup cools too much to spin, simply rewarm it over low heat.
2.
Poured sugar
Poured sugar also
called cast sugar, is boiled sugar that is allowed to harden in various shapes.
Usually it is cast in flat sheets like glass, although like nougatine, it can
be bent and shaped while it is hot and pliable. The syrup can also be colored
before it finishes cooking.
An easy way to make
a mold of any shape is to roll heat resistant plasticine into a rope and work
it to the desired shaped on and oiled marbled slab or silicone ma. Whatever
mold used, it should be lightly oiled to prevent the sugar from sticking.
Once the edges of
the sugar shape have hardened enough, remove the mold. When the entire shape has
hardened enough, slide a palette knife under it to detach it from the work
surface. To bend cast sugar, remove it
from the work surface while it is still soft enough to be pliable. If it gets
too hard, simply place it on an oiled baking sheet and heat it in an oven just
until it is pliable. Then bend as desired, or use and oiled mold to shape it.
Procedure:
a. Prepare
the syrup as in the formula. Color the syrup as desired.
b. When
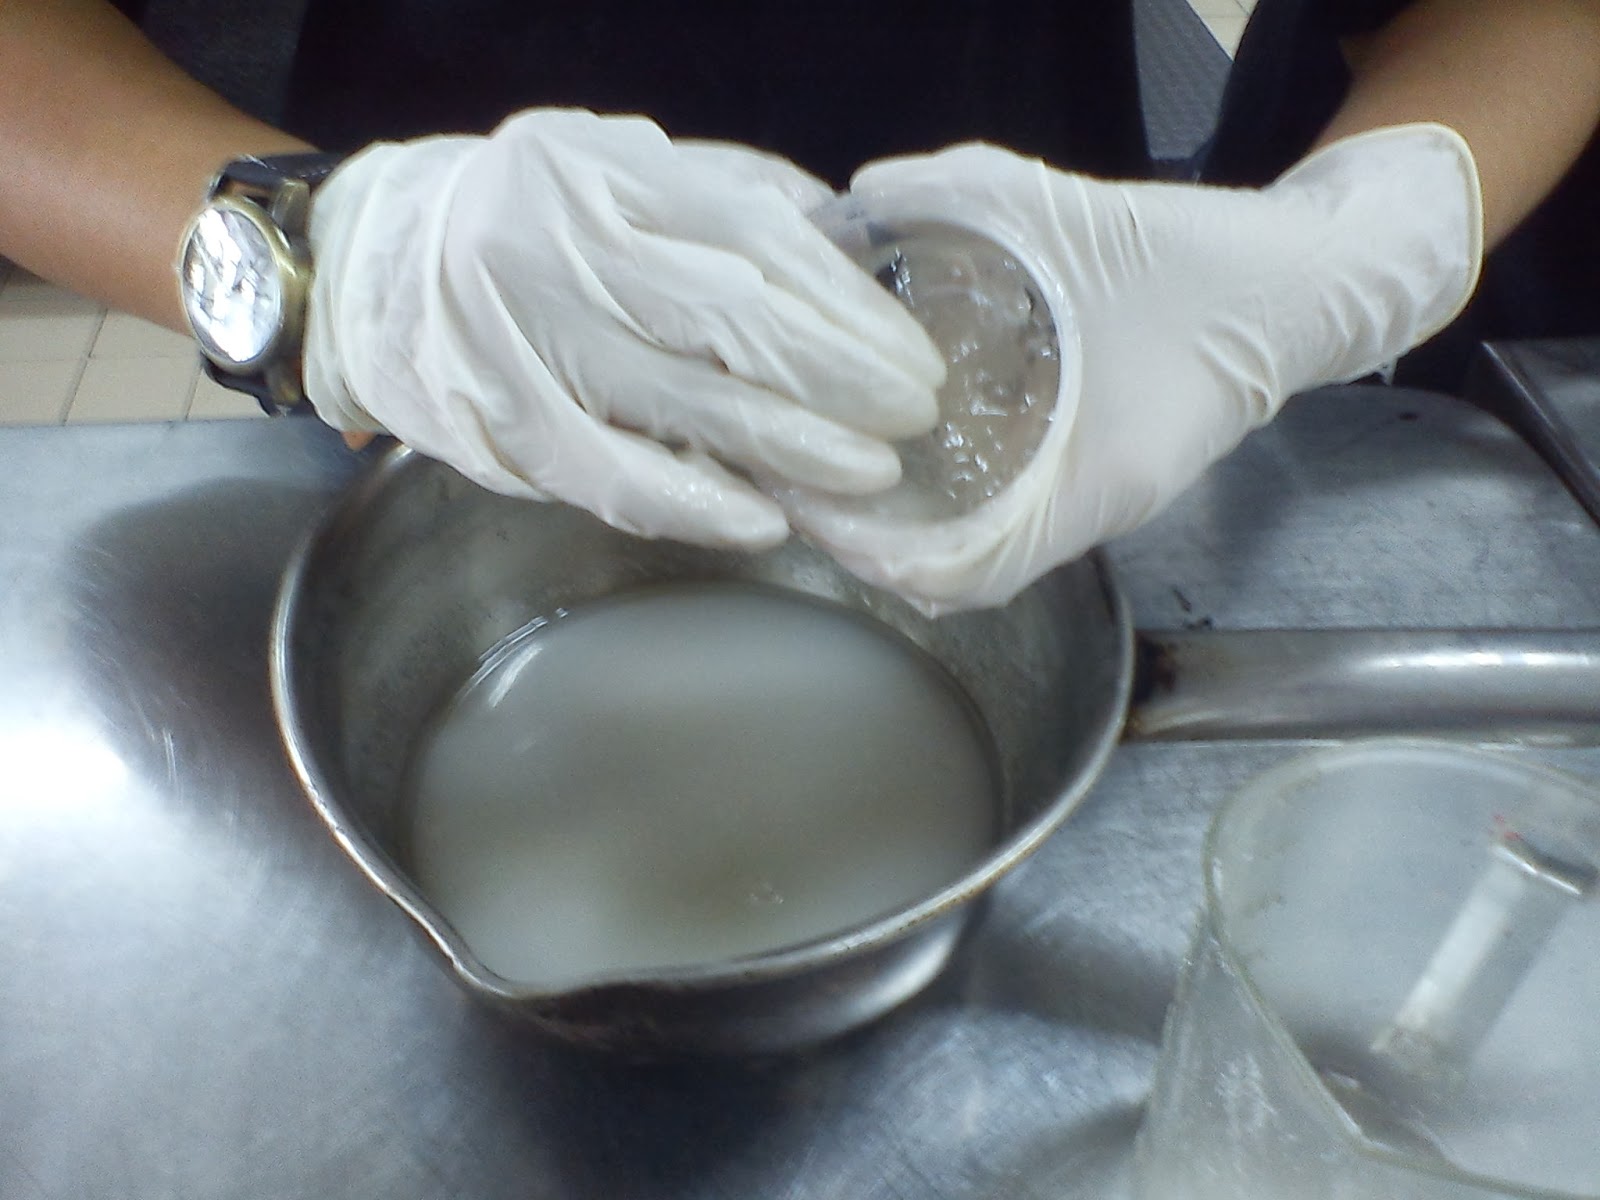
the syrup reaches the proper temperature, briefly plunge the base of the
saucepan into cold water to stop the cooking. Let stand for a moment.
c. Place
a lightly oiled mold on a sheet of parchment. Pour the hot syrup into the mold
to the desired thickness.
d. Before
the sugar cools, it can be marbled with another color.
3.
Pulled Sugar
Pulled sugar is a
sugar that is boiled to the hard crack stage, allowed to harden slightly, then
pulled or stretched until it develops a pearly sheen.
After it has been
heated to the proper temperature, it must again be pulled and folded until it
is cooled to a workable temperature and even in texture. Test the sugar by
pulling a bit from the edge of the ball with thumb and forefinger and
attempting to break it off. If it breaks off cleanly, the sugar is ready. This
pulling and folding procedure is called pearling. If this is not done, it will
not be possible to work the sugar properly.
Tools For Pulled
Sugar:
a. Sugar
thermometer, for accurate control of the temperature of the boiling syrup.
b. Sugar
lamp or other warmer, to keep the stock of sugar warm and soft.
c. Scissors
and knife, lightly oiled, for cutting the sugar.
d. Alcohol
lamp, for melting sugar in order to fasten pieces together.
e. Blowpipe,
for blowing sugar; a pipe with a bulb for inflating is easier to use than one
that is blown with the mouth.
f.
Silicone mat or oiled marble slab,
for pouring out the cooked syrup.
g. Hair
dryer or fan, for cooling sugar items.
h. Rubber
gloves, to protect from burns when handling hot sugar.
Stages Of Doneness
In Sugar Cooking:
STAGE
|
TEMPERATURE (˚c)
|
Thread
|
110
|
Soft
ball
|
115
|
Firm
ball
|
118
|
Hard
ball
|
122-127
|
Small
crack
|
130-132
|
Crack
|
135-138
|
*Hard
crack
|
143-155
|
caramel
|
160-170
|
Pulled Sugar
Quantity
|
Unit
|
Ingredient
|
500
|
Gm
|
Sugar
|
250
|
Gm
|
Water
|
100
|
Gm
|
Glucose
|
A few drops
|
Strawberry
essence
|
|
A few drops
|
Red
coloring
|
|
A few drops
|
Banana
essence
|
|
A few drops
|
Yellow
coloring
|
|
60
|
Gm
|
Icing
sugar
|
60
|
gm
|
Potato
starch
|
Method:
1.
Bring sugar and water to boil to
dissolve the sugar.
2.
Add glucose, bring to boil over
medium high heat.
3.
Divide the syrups into 3 saucepan to
color them.
4.
Allow to boil without stirring until
it reach 132˚C.
5.
Remove from heat immediately and
pour each color into different silicone mat.
Spun Sugar
Quantity
|
Unit
|
Ingredients
|
300
|
Gm
|
Sugar
|
150
|
Gm
|
Water
|
60
|
Gm
|
Glucose
|
A few drop
|
Coloring
|
Method:
1.
Bring sugar and water to boil to
dissolve the sugar.
2.
Add glucose, bring to boil over
medium high heat.
3.
Allow to boil without stirring until
it reaches 132˚C.
4.
Remove from heat immediately.
Pour Sugar
Quantity
|
Unit
|
Ingredients
|
500
|
Gm
|
Sugar
|
250
|
Gm
|
Water
|
100
|
gm
|
Liquid
glucose
|
A few drop
|
Coloring
|
Method:
1.
Make syrup of the sugar, water and
glucose.
2.
Boil to 125˚c
and add coloring if desired.
3.
Continue to boil to 165˚c.
if desired, a few drops of another color could be added at this point without
mixing to create a marbled effect.
4.
Stop the cooking immediately by
plunging the base of the pan into cold water. Remove from the cold water and
allow to stand for 2-3 minutes to thicken slightly.
5.
Pour into desired mold until
approximately 5mm thick.
6.
Once edge has set enough, remove
rings. Score lightly with an oiled knife.
7.
Use a little reheated sugar as glue
to attached pieces together.







.jpg)